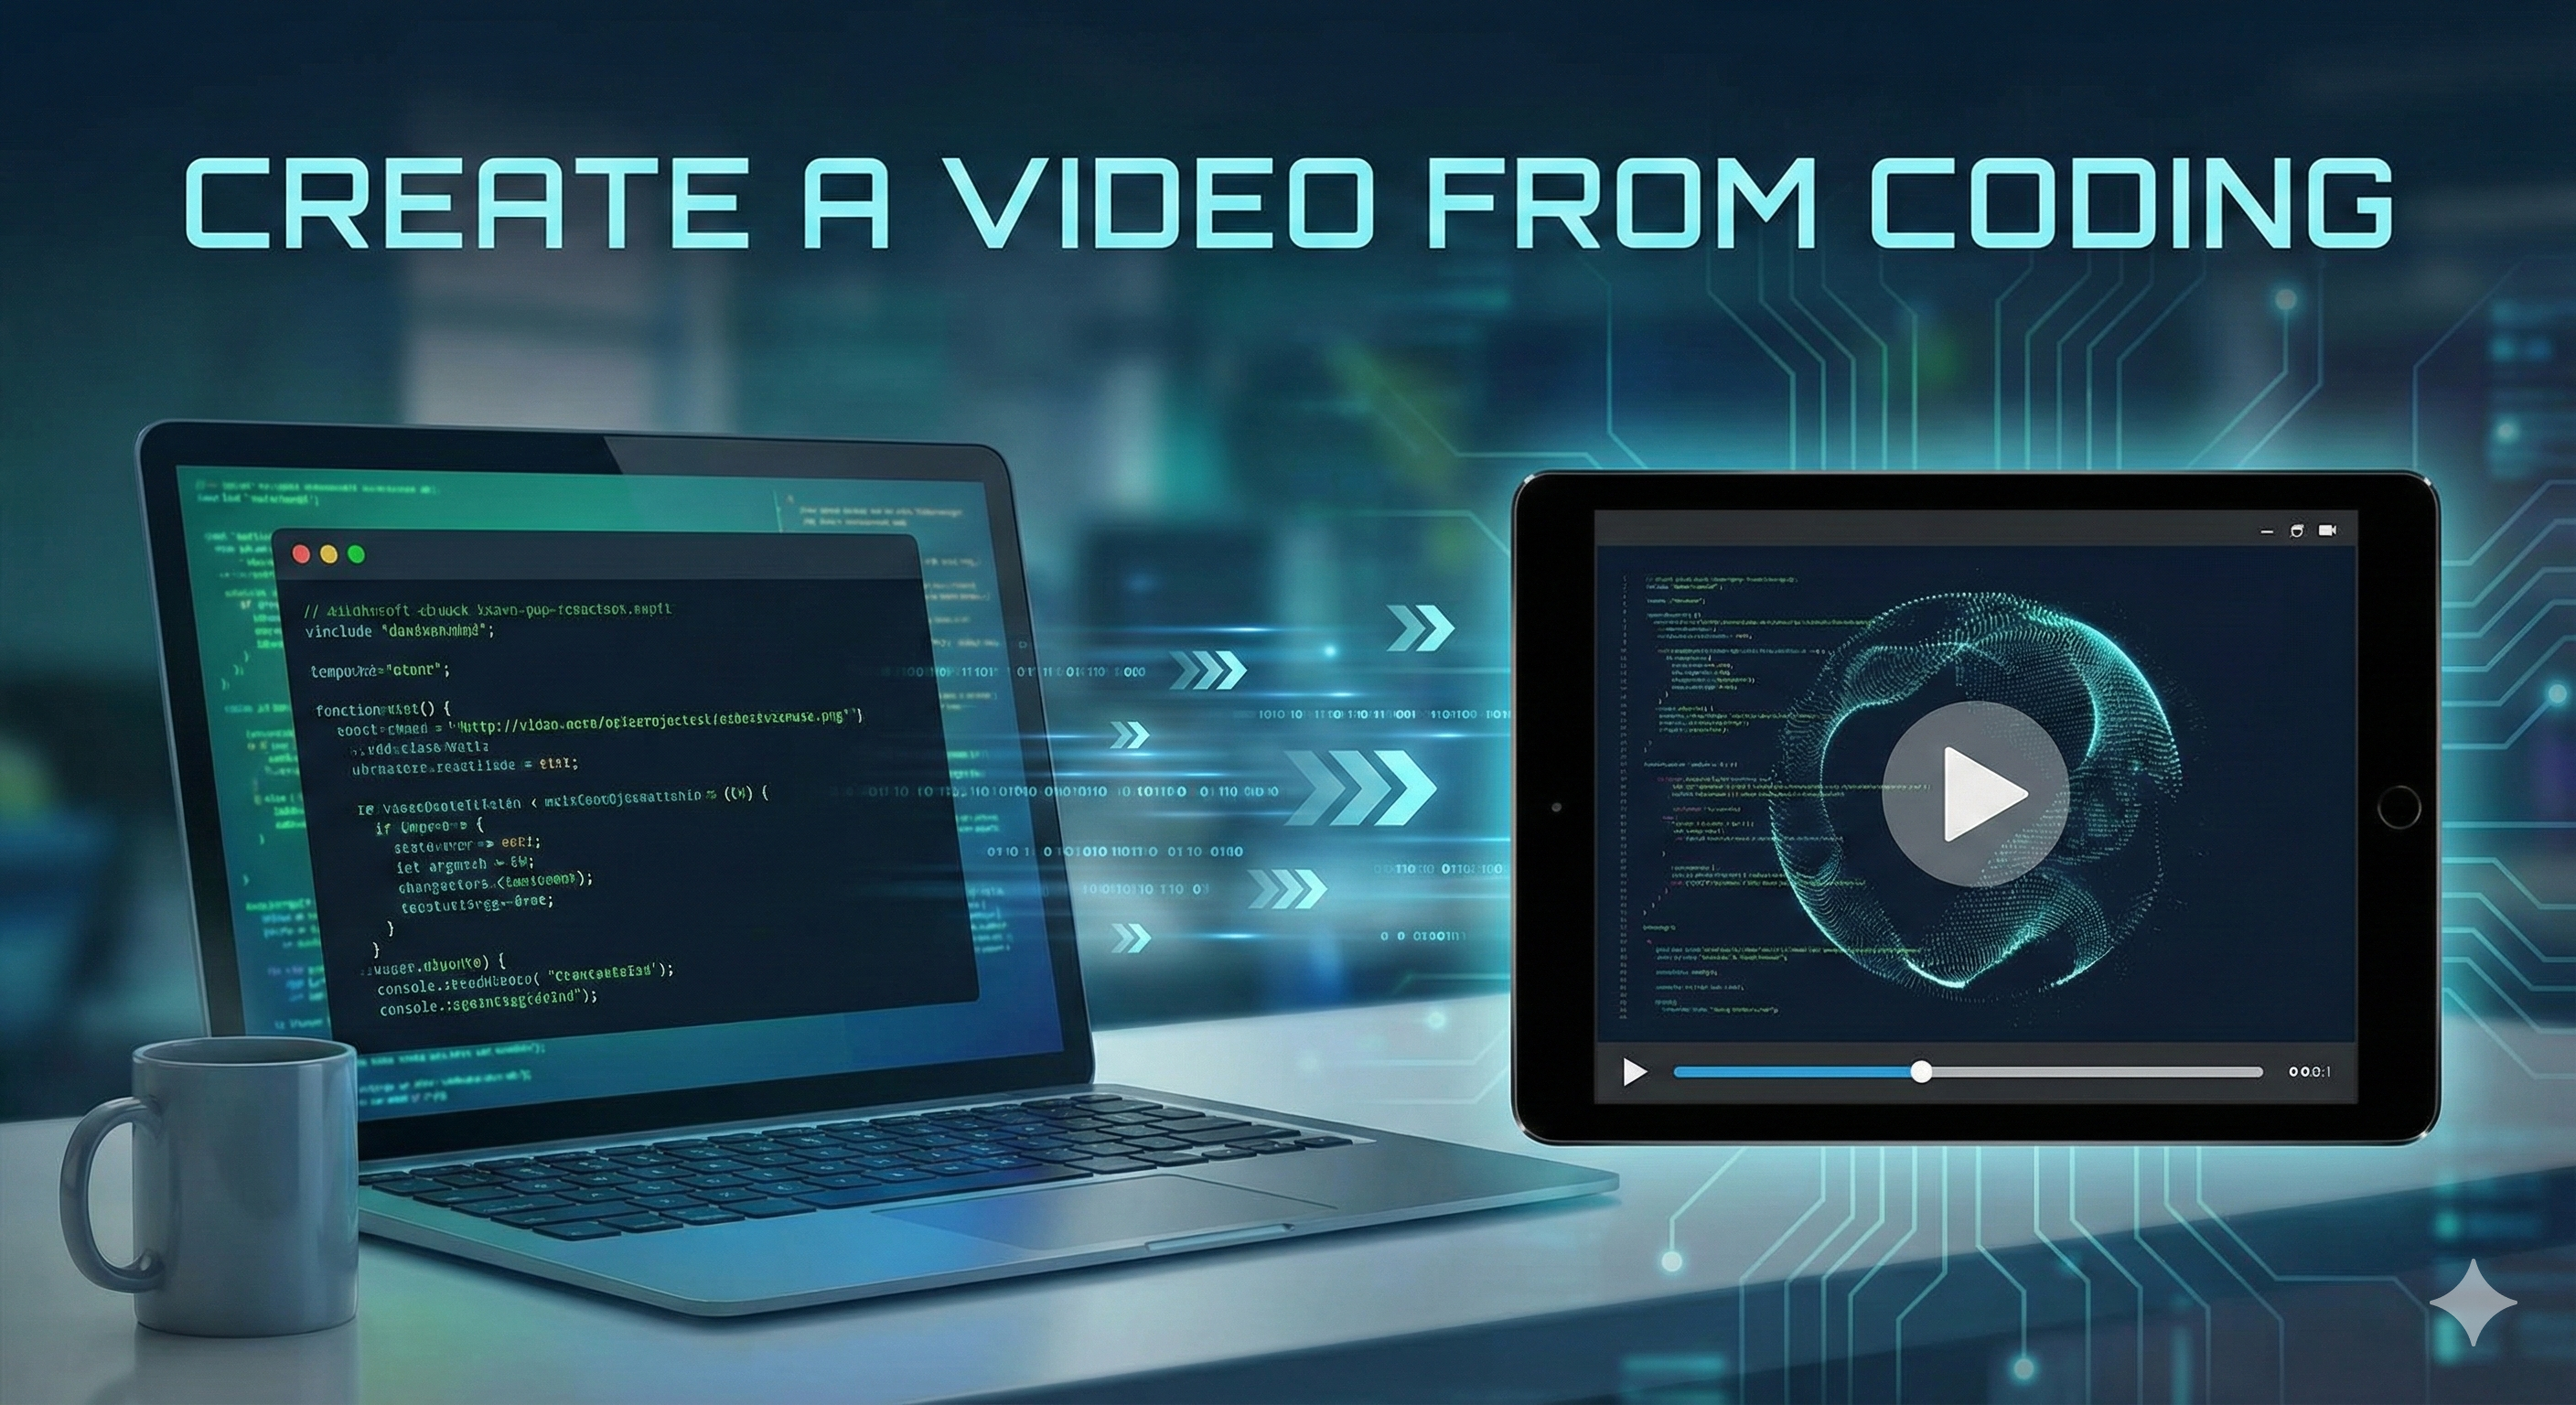
From code to video, without the timeline
Video creation no longer has to start in a timeline editor. With Remotion, you build videos the same way you build apps: components, props, and data-driven logic. This post walks through how to create a video from code using the setup in this project. We will cover the toolchain, the workflow, and the small practical tricks that make programmatic video feel productive.
Why code-driven video?
Traditional editors are great for hand-crafted timelines, but they are not designed for scale, automation, or dynamic data. Code-driven video shines when you need: - Hundreds or thousands of personalized renders - Tight integration with APIs or data pipelines - Reusable visual systems and templates - Version control and collaborative development Remotion lets you build that in React while still rendering real video files.
The tools we used here
This project is a Next.js app that embeds Remotion, so you can preview and render videos inside a web interface. Core stack: - Remotion for composing and rendering videos with React - React + TypeScript for components, props, and type safety - Next.js (App Router) for the web UI and API routes - @remotion/player to preview the composition in the browser - @remotion/lambda for scalable cloud rendering on AWS - Tailwind CSS for quick styling - Zod for defining and validating input props - @remotion/google-fonts to load fonts consistently - Bun as the package manager for local dev
Project structure overview
The Remotion side lives under src/remotion/ and is wired into the app: - src/remotion/Root.tsx defines the compositions (video templates) - src/remotion/MyComp/Main.tsx is the main scene composition - src/app/page.tsx renders the Remotion Player and UI controls - types/constants.ts contains duration, dimensions, fps, and prop schema This separation keeps the video template clean and the UI fast to iterate on.
1) Define a composition
Every Remotion video starts with a <Composition> in Root.tsx that sets the size, fps, duration, and the React component that renders the video. Key ideas: - durationInFrames is the total timeline length - fps controls timing resolution - width / height define the output resolution - defaultProps give you a reusable template
2) Build the scene in React
In Main.tsx, the composition uses standard React structure, but all motion is driven by the frame. You will see: - useCurrentFrame() to know where you are in the timeline - useVideoConfig() for fps and duration info - spring() for smooth entrance and exit animations - <Sequence> to time when elements appear This mirrors the mental model of keyframes and layers, but with code.
3) Parameterize your video
A big advantage of code-driven video is inputs. In this repo: - Zod defines CompositionProps for the title - The UI passes a different title via the Remotion Player - The same template can render infinite variations This is what makes personalization and automation possible.
4) Preview in the browser
src/app/page.tsx uses the Remotion Player, which gives you live playback, scrubbing, and instant preview as you edit inputs. It replaces the usual build-render-check cycle with a tight feedback loop.
Generated result
This is an example render produced from the code-based composition. Replace the file with your own output when you export a new version.
5) Render locally or in the cloud
For local rendering, you can use the Remotion CLI to produce a real video file. For scale, the project includes Remotion Lambda, which renders on AWS and is ideal for batch jobs and large volumes.
Tips and tricks that matter
These are practical patterns that make Remotion workflows smooth and predictable: 1) Drive all motion with frames, not CSS. Remotion renders frame-by-frame; CSS transitions or Tailwind animation classes do not render reliably. 2) Think in seconds, convert to frames. A clean habit is to express timing in seconds and multiply by fps. 3) Use Sequence for timing and Series for ordering. Always use premountFor on sequences to avoid load-time jitter. 4) Use spring() with damping 200 for a smooth, non-bouncy finish. 5) Keep assets in public/ and load with staticFile() for stable paths. 6) Make templates reusable with defaultProps. 7) Split complex scenes into components to keep timelines readable.
Production considerations in 2026
Programmatic video becomes real when it is reliable at scale. A few production patterns that help: - Preload fonts and assets to avoid missing frames. - Keep animation logic deterministic to prevent flicker between renders. - Add lightweight input validation with Zod to catch bad data early. - Cache intermediate assets and reuse background layers when possible. - Use consistent color tokens and typography rules so outputs look cohesive across variations.
Common workflow in practice
A practical workflow looks like this: 1. Create or update a composition in Root.tsx. 2. Build the scene in a separate component with sequences and animations. 3. Define input props with Zod and pass them from the UI. 4. Preview in Remotion Player and iterate. 5. Render locally, then scale with Lambda when ready.
Conclusion
Programmatic video is powerful, especially for automation and scale, but it is not magic. Do not believe all the results people are getting from this; while results are ok, it still needs a lot of work for replacing motion designers or video editors. The sweet spot today is using code to power repeatable, data-driven visuals while leaning on human design skill for the art direction. That blend is where it shines.